Posted By

Playwright is a next-generation browser automation framework developed by Microsoft. It is designed to deliver robust end-to-end testing across all major rendering engines - Chromium, Firefox, and WebKit.
What sets Playwright apart is its intelligent auto-waiting mechanism, high reliability under asynchronous conditions, and developer-centric API, which simplifies test automation for modern web applications. For QA leads and engineering managers evaluating test automation tools, Playwright removes a significant amount of the overhead that comes with maintaining flaky test suites. Less time firefighting unstable tests means faster release cycles — and that has a direct impact on delivery timelines and product quality. Whether your team is running tests locally or in a CI/CD pipeline, Playwright's built-in tooling reduces the setup burden considerably compared to legacy frameworks.
This guide is part of a two-blog series on Playwright. The first blog focuses on the fundamentals—getting you started with Playwright's core concepts, installation, basic browser operations, and essential testing patterns. The second blog will dive into advanced techniques, including parallel testing, cross-browser automation, complex scenarios, and enterprise-level implementations.
Why choose Playwright over other browser automation frameworks?
- No external WebDriver required: Playwright ships with built-in browser binaries, eliminating the need for separate WebDriver installations and configuration overhead.
- Flake-free by design: Playwright automatically waits for UI elements and network stability, minimizing test flakiness and synchronization issues out of the box.
- All-in-one tooling: It comes bundled with a first-party test runner, assertion library, and advanced trace viewer for time-travel debugging — there is no need for third-party integrations.
- Optimized for modern web architectures: Engineered with modern frontend technologies in mind — ideal for single-page applications (SPAs), dynamic DOM updates, and iframe-heavy interfaces.
- Minimal boilerplate, clean async syntax: Uses an async/await pattern that leads to more readable, concise, and maintainable test code, especially for complex user flows.
What are the essential Playwright features for test automation?
- Auto-waiting intelligence: Playwright has built-in auto-waiting capabilities that automatically wait for elements to become actionable — visible, attached to the dom, and stable — before performing interactions. This reduces the need for manual waits or sleeps, significantly improving test stability and reliability.
- Cross-browser compatibility: With native support for browser engines like Chrome, Firefox, and WebKit, Playwright enables true cross-browser testing from a single codebase. This ensures your application behaves consistently across all major browsers, including Chrome, Edge, Safari, and Firefox—even on mobile emulation.
- Parallel and scalable testing: The Playwright's test runner supports parallel test execution out of the box. You can distribute tests across multiple workers or CI nodes, leading to faster feedback loops and scalable testing pipelines. Parallelism is intelligently managed to maximize resource utilization while avoiding flaky behavior. For teams running multiple product lines or microservices, this directly translates to shorter CI feedback loops and lower infrastructure costs.
- Robust debugging toolkit: Playwright ships with powerful debugging tools:
- Trace viewer: a visual step-by-step replay of your tests.
- Codegen: automatically generates test scripts by recording user actions.
- Inspector mode: step through tests interactively with execution context visibility.
These tools help pinpoint issues quickly and reduce debugging time.
- Developer-centric experience: From rich typescript support to intuitive APIs and minimal boilerplate, Playwright is built with developer productivity in mind. Features like auto-completion, detailed error messages, and inline documentation make test authoring seamless and efficient.
- Multi-tab and multi-context support: Playwrights can simultaneously handle multiple pages, tabs, or browser contexts. This is especially useful for testing workflows that involve pop-ups, multi-user scenarios, or parallel sessions — all within the same test run.
How do you install and set up Playwright in Python and Java?
Playwright offers first-class support for multiple programming languages. Below are the setup instructions for Python and Java environments.
How does Playwright work with Python?
Installation
Step 1. Install Playwright and its CLI using pip:
pip install Playwright
Step 2. Download browser binaries:
playwright install
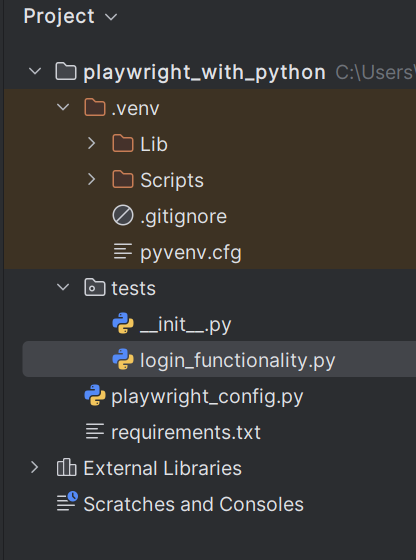
Example of Python directory structure
How does Playwright work with Java?
Installation
Step 1. Add Playwright dependency using Maven:
<dependency>
   <groupId>com.microsoft.playwright</groupId>
   <artifactId>playwright</artifactId>
   <version>1.44.0</version> <!-- Check for the latest version -->
 </dependency>
Step 2. Install browser binaries:
From the terminal (in project root), run:
mvn exec:java -e -Dexec.mainClass=com.microsoft.playwright.CLI -Dexec.args="install"
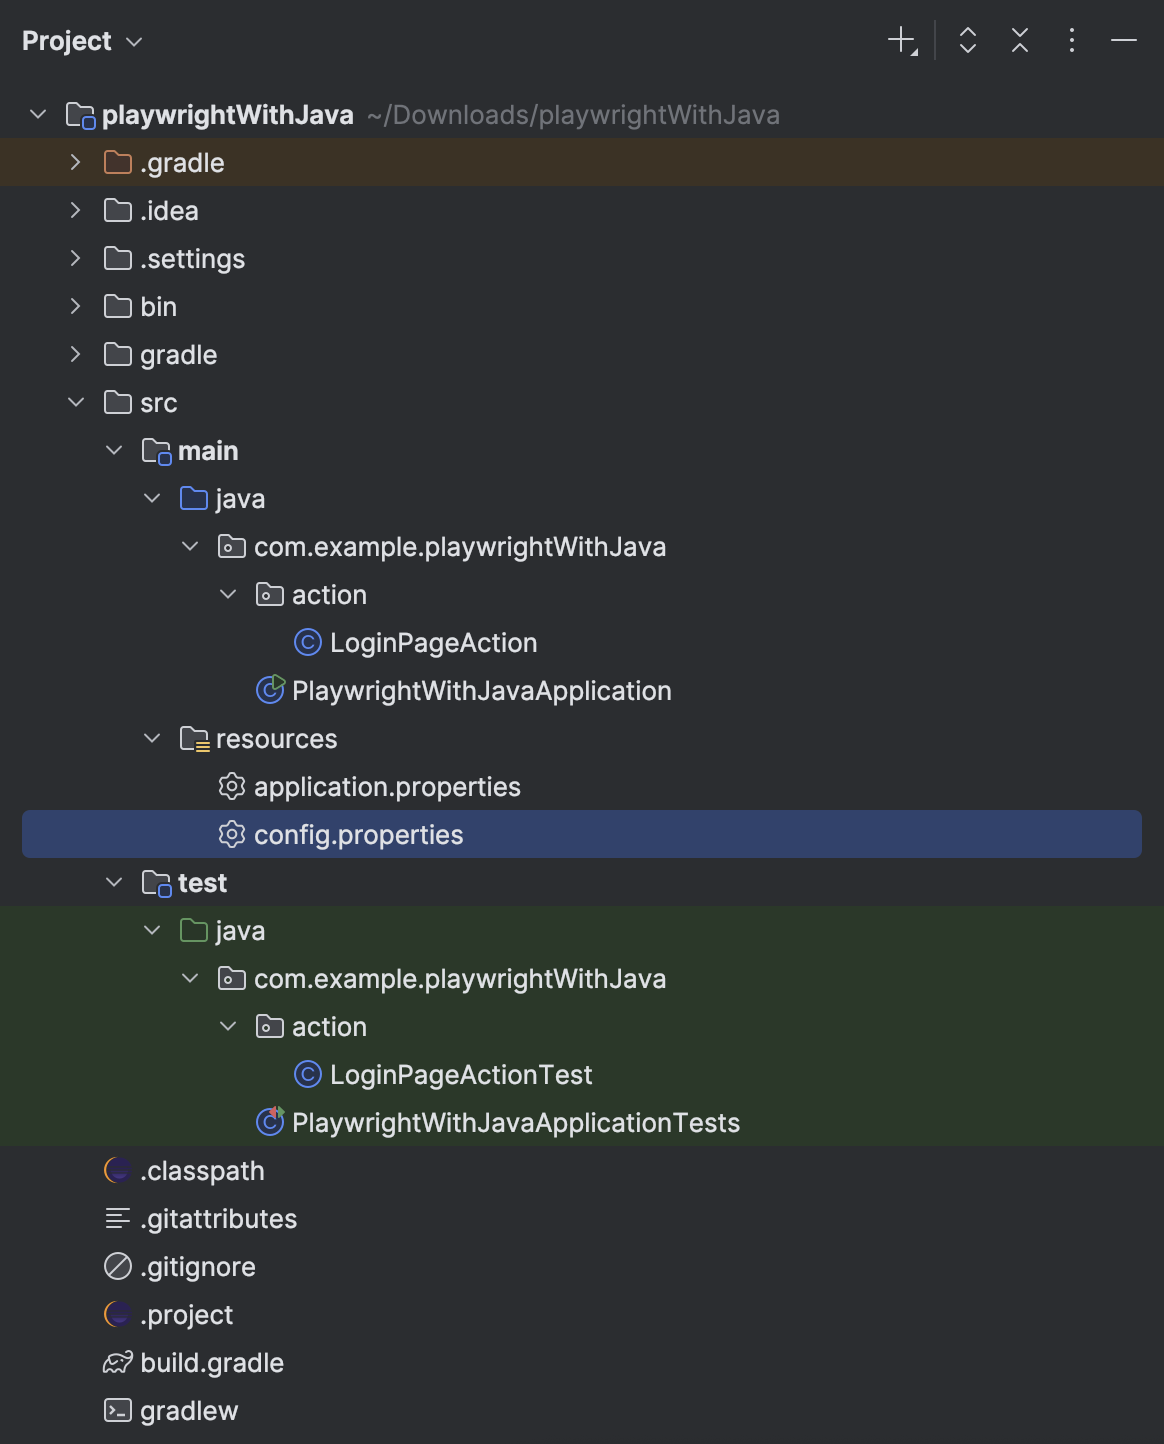
Example of Java directory structure
How to launch browsers with Playwright
Playwright supports launching the following browser engines:
- Chromium (Chrome, Edge)
- Firefox
- WebKit (Safari engine)
Depending on your testing needs, each browser can be launched in headless or headed mode.
How do you launch browsers in Python using Playwright?
Playwright's Python library allows the launching of any supported browser using a simple API.
Basic launch examples
from Playwright.sync_api import sync_playwright

 with sync_playwright() as p:
     # Launch Chromium
     browser = p.chromium.launch(headless=False)
     page = browser.new_page()
     page.goto("https://example.com")
     browser.close()

     # Launch Firefox
     browser = p.firefox.launch(headless=True)

     # Launch WebKit
     browser = p.webkit.launch(headless=False)
Launch options
browser = p.chromium.launch(
     headless=False,
     slow_mo=100,  # Slow down operations by 100ms (for debugging)
     args=["--start-maximized"]
 )
How do you launch browsers in Java using Playwright?
In Java, Playwright provides a similarly straightforward API to launch supported browsers.
Basic launch examples
import com.microsoft. Playwright.*;

 public class LaunchBrowser {
   public static void main(String[] args) {
     try (Playwright playwright = Playwright.create()) {
       // Launch Chrome
       Browser browser = playwright.chromium().launch(new BrowserType.LaunchOptions().setChannel("chrome"));
       Page page = browser.newPage();
       page.navigate("https://example.com");
       browser.close();

      // Launch Edge
Browser browser = playwright.chromium().launch(new BrowserType.LaunchOptions().setChannel("msedge"));

       // Launch Firefox
       Browser firefox = playwright.firefox().launch(
         new BrowserType.LaunchOptions().setHeadless(true)
       );

       // Launch WebKit
       Browser webkit = playwright.webkit().launch();
     }
   }
}
Launch options
Browser browser = playwright.chromium().launch(
   new BrowserType.LaunchOptions()
     .setHeadless(false)
     .setSlowMo(100) // Add delay to visualize steps
     .setArgs(List.of("--start-maximized"))
 );
How does Playwright handle page navigation and user interactions?
Page interactions in Playwright are performed using the Page object, which abstracts away browser-specific details and provides a fluent API to simulate real user behavior.
Python implementation
Step 1. Open the URL
Navigate to a webpage using the goto() method.
from Playwright.sync_api import sync_playwright

 with sync_playwright() as p:
     browser = p.chromium.launch()
     page = browser.new_page()
     page.goto("https://example.com")
Step 2. Fill input fields
Input text into a field using CSS or XPath selectors.
page.fill("#username", "admin")
Step 3. Click buttons
Simulate user clicks on buttons or interactive elements.
page.click("#submit")
Java implementation
Step 1. Open URL
Use the navigate() method on the Page object.
import com.microsoft. Playwright.*;

 public class PageNavigation {
   public static void main(String[] args) {
     try (Playwright playwright = Playwright.create()) {
       Browser browser = playwright.chromium().launch();
       Page page = browser.newPage();
       page.navigate("https://example.com");
     }
   }
 }
Step 2. Fill input fields
Set the value of input fields using fill():
page.fill("#username", "admin");
Step 3. Click buttons
Trigger a click event on elements using selectors:
page.click("#submit");
How does Playwright's auto-wait feature reduce test flakiness?
Playwright is designed to eliminate flaky tests through intelligent auto-waiting. It ensures that elements are ready before any interaction is attempted — no need for manual sleep() calls in most cases.
Python implementation
i) Auto-wait behavior
Playwright automatically waits for the element to be visible, attached to the DOM, and enabled before executing actions like click or fill.
page.click("#submit") # Automatically waits until #submit is ready
ii) Manual wait for selector
In cases with conditional rendering or dynamic elements, you can explicitly wait for an element to appear:
page.wait_for_selector(".success-message")
Java implementation
i) Auto-wait in Java
Playwright in Java also provides implicit auto-waiting:
page.click("#submit"); // Waits for the button to be visible and clickable
ii) Explicit Wait for selector
You can manually wait for an element if necessary:
page.waitForSelector(".success-message");
How to write assertions in Playwright tests
Playwright includes powerful, built-in assertion support (through playwright/test in JavaScript, and pytest-playwright/TestNG integration for Python/Java).
Python assertions with expect
You can use expect from the Playwright.sync_api's expect() utility to make assertions:
i) Text assertion
from Playwright.sync_api import expect

 expect(page.locator("h1")).to_have_text("Dashboard")
ii) Visibility check
expect(page.locator("#logout")).to_be_visible()
Java assertions
Java requires a separate assertion framework like JUnit, TestNG, or AssertJ. Combine it with Playwright locators to validate conditions.
i) Text assertion
import static org.junit.jupiter.api.Assertions.*;

 String headingText = page.locator("h1").textContent();
 assertEquals("Dashboard", headingText);
ii) Visibility check
boolean isVisible = page.locator("#logout").isVisible();
 assertTrue(isVisible);
What are the best Playwright element locators and how do you use them?
Locators are Playwright's powerful abstraction to interact with elements across modern UIs. You can target elements using various strategies.
Python
i) By ID
page.locator("#email")
ii) By text
page.get_by_text("Continue")
iii) Chained locators - Useful for targeting deeply nested elements:
page.locator("form").locator("button")
Java
i) By ID
page.locator("#email");
ii) By Text
page.getByText("Continue");
iii) Chained Locators
page.locator("form").locator("button");
locator() methods support chaining, filtering, and smart auto-waiting for better stability.
When should you use Playwright headless vs headed browser mode?
Playwright allows switching between headless (no GUI) and headed (UI visible) modes depending on use case. In CI/CD environments, headless mode is the standard — it runs faster and doesn't require a display server. Headed mode is best reserved for local debugging during development.
Python
i) Headless mode
Optimized for speed, often used in CI/CD:
browser = p.chromium.launch(headless=True)
ii) Debug Mode (Headed)
Ideal for local test development and debugging:
browser = p.chromium.launch(headless=False)
Java
i) Headless mode
Browser browser = chrome.launch(new BrowserType.LaunchOptions().setChannel("chrome").setHeadless(true));
ii) Debug mode (Headed)
Browser browser = chrome.launch(new BrowserType.LaunchOptions().setChannel("chrome").setHeadless(false));
How do you use the Playwright test runner for end-to-end automation?
Playwright provides a full-featured test runner (native in JS/TS, integrated via Pytest/TestNG in Python/Java).
Python (with Pytest)
i) Writing test blocks
def test_verify_title(page):
     page.goto("https://example.com")
     assert "Example" in page.title()
ii) Grouping with class (pytest style)
class TestLogin:

     def test_valid_login(self, page):
         # Test logic
         pass
iii) Hooks (setup/teardown)
import pytest

 @pytest.fixture(scope="function")
 def page_context(playwright):
     browser = playwright.chromium.launch()
     page = browser.new_page()
     yield page
     browser.close()
Java (JUnit or TestNG)
i) Writing test methods
@Test
 public void verifyTitle() {
     page.navigate("https://example.com");
     assertEquals("Example Domain", page.title());
 }
ii) Grouping with classes
public class LoginTests {

     @Test
     public void testValidLogin() {
         // Test logic here
     }
 }
iii) Setup and Teardown (Hooks)
@BeforeEach
 public void setup() {
     browser = playwright.chromium().launch();
     page = browser.newPage();
 }

 @AfterEach
 public void teardown() {
     browser.close();
 }
How can Opcito help you scale Playwright automation across your product?
If you're comparing Playwright vs Selenium for your team's next test automation rollout, Playwright's zero-flakiness design, built-in trace viewer, and multi-browser support give it a clear edge for modern web applications. Contact the automation experts at Opcito for personalized guidance and enterprise-level implementation strategies. Stay tuned for our next blog in this series, where we'll explore advanced Playwright techniques including parallel execution, cross-browser testing, complex form handling, and multi-context scenarios that will elevate your test automation to production-ready standards.