Posted By

Digitization is taking over the world, with almost everything moving to the cloud. There has been a significant focus on seamless collaboration in the recent past to ensure smoother and quicker operations. Adding a code editing tool like Visual Studio allows you to take advantage of collaborative features like reviewing, writing files directly in a pipeline, and viewing linter errors. Users can also collaborate on the same file, at the same time, from different locations. There are many editor tools that help us achieve the above functionalities, but I personally like the Monaco Editor tool because it gives a look and feel like Visual Studio.
Monaco Editor integration with React enables such collaboration in web apps, offering VS Code-like editing features, syntax highlighting, and real-time collaboration.
What is the Monaco Editor?
The Monaco Editor is a code editor that powers Visual Studio Code. It is a popular open-source code editor developed by Microsoft. It is based on the Electron framework and is built using web technologies such as HTML, CSS, and JavaScript. The Monaco Editor is known for its fast performance, powerful IntelliSense code completion, and support for various programming languages and file formats. It has several features that make it well-suited for coding and debugging, including syntax highlighting, code folding, automatic indentation, and code refactoring. It is highly customizable and allows users to change color schemes, fonts, and other settings to suit their preferences.
Implementing the Monaco Editor
To implement the Monaco Editor, you need to use the 'react-monaco-editor' npm package. The React Monaco Editor is a component for integrating the Monaco Editor into a React application. It allows you to use the Monaco Editor as a React component with the same features and functionality as the standalone editor.
To use the React Monaco Editor, install the react-monaco-editor package from npm.

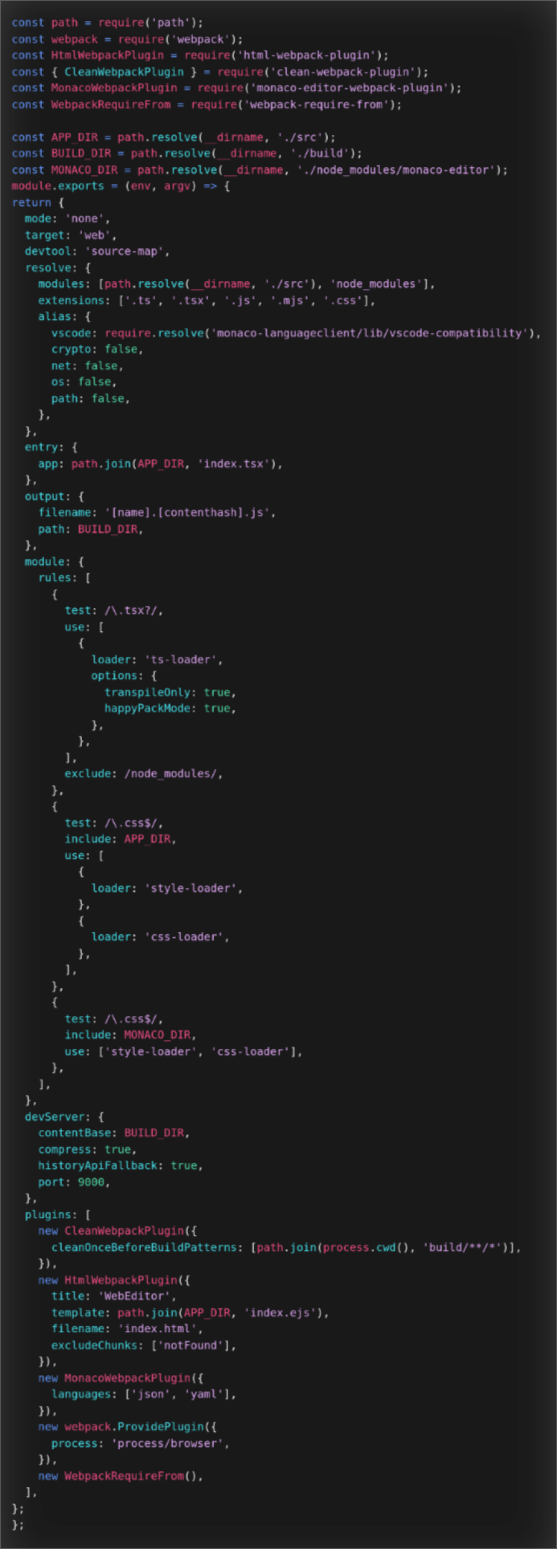
After installing the packages, edit webpack.config.ts
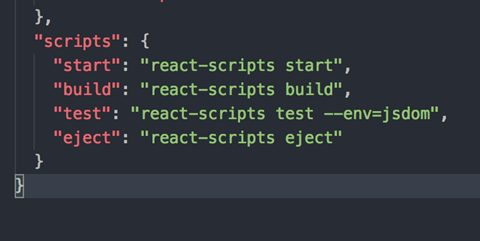
If you have created your application using react-create-app package and package.json, the script section will look like this:
Create-react-app provides a convenient way to get started with React. It can be difficult to customize the underlying configuration if you want to add additional features or change the way the application is built.
To override the Monaco editor configuration, you need to rewire your application using react-app-rewired. React-app-rewired solves this problem by overriding the default configuration of create-react-app without ejecting (exposing and removing the default configuration). This allows you to modify the configuration of your create-react-app application without losing the tool's benefits, such as automatic updates and easy debugging.
Opcito’s Software Product Development services help organizations embed tools like Monaco Editor into React applications, ensuring maintainability, scalability, and collaboration.
To use react-app-rewired, you need to install the package using npm:

Then, you can create a config-overrides.js file in the root of your project, which will contain your custom configuration.

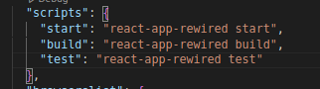
Finally, you need to update the scripts section of your package.json file to use react-app-rewired instead of the default create-react-app scripts.
To add the YAML support to the editor, use the Monaco-YAML plugin. YAML is a human-readable data serialization language often used for configuration files, data storage, and data exchange between systems.
To use Monaco-YAML, install the package using npm:

After installing the packages, import the Monaco Editor component and use it in your React code like any other component as shown below:

Here, using the Monaco-YAML setDiagnosticsOptions method, you can set your own schema to the file. To do this, you must create a worker and configuration.json file. This worker needs to be written outside your component. It will be rendered before the initialization of a component, and you can display the linter error message. After creating a schema, you can create a model from it and assign it to the editor onload method. The configuration file will contain a JSON schema that will validate a YAML file entered by the user into the editor.

This is a simple way to integrate the Monaco Editor. Try it yourself. Use the collaborative features to collaborate, view and review linter errors, and share your experience in the comments below.