Posted By

Application security is critical in today’s digital ecosystem. Preventing unauthorized access to sensitive data requires strong identity and access management (IAM). A simple login API is no longer enough — enterprises need secure and customizable authentication flows to reduce the risk of data breaches and financial penalties.
Thankfully, Keycloak, an open-source IAM tool, makes this easier. With support for multiple authentication protocols, single sign-on (SSO), an admin console, user identity synchronization, social identity providers, and theme customization, it provides a complete solution.
In this blog, I’ll walk you through a few simple steps to customize Keycloak login and signup pages. We’ll be installing Vue in Keycloak and using Vuetify for the UI design, though you can also use a Bootstrap/React combination.
Why customize Keycloak login and signup pages?
Customizing Keycloak login and signup pages is more than branding. It creates a consistent user experience while improving application security. Weakly implemented authentication flows can open doors to breaches. By customizing the UI, organizations ensure users interact with a secure, branded interface that aligns with their identity.
A well-designed login and signup page directly impacts trust and protection. Opcito’s Cyber Security Services complement this by securing access points, preventing unauthorized entry, and ensuring compliance across enterprise applications.
Step 1: Download Keycloak Tar/Zip File
For this demo, I am using Keycloak 15.0.2. You can download the latest version from the Keycloak downloads page.
Start with the Keycloak directory download and follow the path shown below:
/keycloak/themes/custom
Create a blank folder if a custom folder is not available. Copy the file from the Keycloak theme that you want to customize and paste it inside the custom/login folder. Here I am using login.ftl file.
Step 2: Install Dependencies
Install the required dependencies in a custom folder. Create a common/resources folder inside the custom and create a package.json file. Add the packages you want to install. For instance, I have added the Vue and Vuetify packages as shown below:
{
 "dependencies": {
 "vuetify": "^2.5.10",
 "vue": "^2.6.10"
 }
}
Go to the pack custom/common/resources and run npm install to install packages.
Step 3: Run Keycloak
There are two ways you can run Keycloak; directly using the Tar file or using the Docker. In the Keycloak directory, I have already created a custom folder that can help run Keycloak easily. To run Keycloak in Docker, you need to copy the custom folder to its precise location in the Docker container and install npm packages with Docker commands. Here are the changes that you will need to make to the Docker file:
# Node Image
FROM node:11.13.0-alpine as node_base_image
WORKDIR /root/
COPY ["package.json","./"]
# Installing node modules using npm install
RUN ["npm", "install"]
# Keycloak Image
FROM jboss/keycloak:15.0.2
# Copy custom folder which contain custon login and registration page
COPY custom /opt/jboss/keycloak/themes/custom
# Copy node modules from node image to keycloak image
COPY --from=node_base_image /root/
./opt/jboss/keycloak/themes/custom/common/resources
COPY --from=node_base_image /root/
./opt/jboss/keycloak/themes/keycloak/common/resources
Here, I am using a multistage Docker file. In that Docker file, I will create a node image, run the npm install command, and generate the node_modules. Copy the custom folder that contains the customized login.ftl file and paste the node_modules in the same folder.
Use the following command to run this Docker file:
docker build . -t keycloak-service

docker run -p 8080:8080 -e KEYCLOAK_USER=admin -e
KEYCLOAK_PASSWORD=admin keycloak-service:latest
Step 4: Set customized theme in Keycloak
Login to Keycloak admin and select realm, then go to the theme and select the custom option for the login theme. Remember that the custom option in login will be visible only after adding the custom folder on the path, as explained earlier.

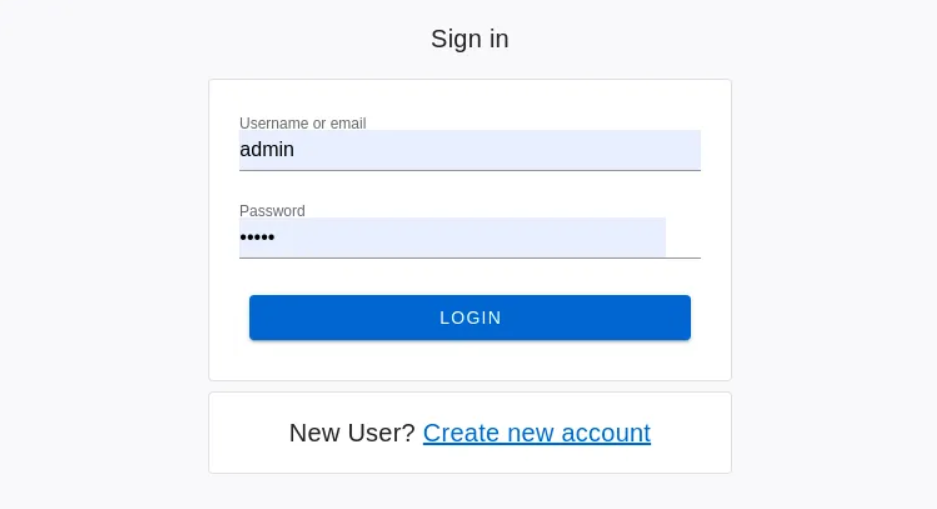
The form would look like this before customizing:

Now that I have made all the changes required for customization, the form would look like this after customizing:
Here is the source code file for your reference - Source Code (Login.ftl)
This is it! You have successfully customized the login form in Keycloak using Vuetify and Vue. There are several other files that can be customized like this, such as Register, Forgot Password, and Reset Password. You can follow the same steps to customize them.
Once you’ve customized the login and signup pages, you can further strengthen access control with Keycloak. Check out our blog on RBAC for Frontend and Backend Using Keycloak to learn how to manage roles, permissions, and secure applications end-to-end.
Opcito’s experts are ready to help you streamline identity and access management for your enterprise. Contact our team at contact@opcito.com to get started. Share your customization experience and queries in the comments section below. Happy coding!